wooden shoe rack plans pdf
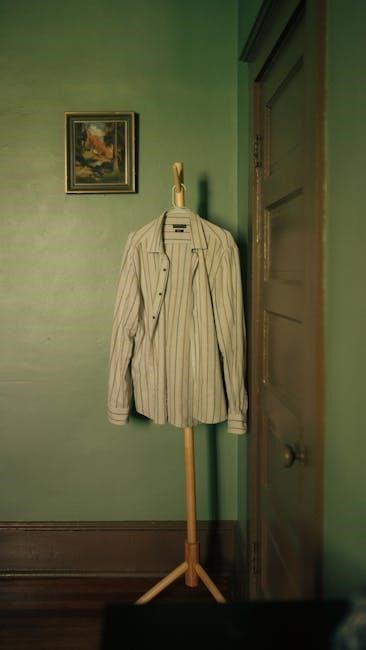
Transform your entryway from cluttered to organized with our wooden shoe rack plans․ Perfect for any space, these DIY projects offer stylish and functional storage solutions․
Why Effective Shoe Storage Matters
Effective shoe storage is essential for maintaining an organized and clutter-free entryway․ A chaotic mess of scattered shoes can lead to tripping hazards, wasted time searching for matching pairs, and a disorganized daily routine․ Shoe clutter not only creates an eyesore but also contributes to inefficiency in your home․ A well-designed shoe rack helps keep your space tidy, protects your shoes from damage, and enhances the overall aesthetic of your entryway․ By implementing a wooden shoe rack, you can transform a chaotic area into a functional and stylish space that simplifies your life․ This practical solution promotes order and makes a significant difference in your daily routine․
Benefits of Building Your Own Shoe Rack
Building your own shoe rack offers numerous benefits, including the freedom to customize the design to fit your space and style․ It’s a fun and rewarding DIY project that allows you to develop woodworking skills while creating something practical․ By using materials like plywood, doweling, and MDF board, you can craft a durable and stylish storage solution․ This project is also cost-effective, as it eliminates the need to purchase expensive pre-made furniture․ Additionally, building your own shoe rack provides a sense of accomplishment and allows you to personalize the final product to match your home decor․ It’s a great way to enhance your entryway while learning new skills․
Materials and Tools Needed
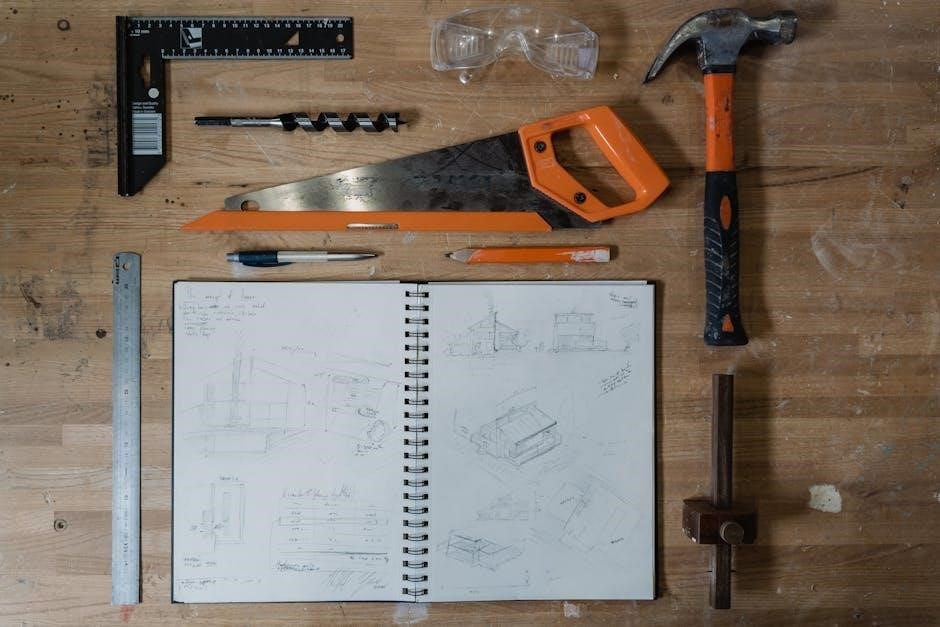
Essential materials include plywood, MDF board, doweling, and wooden molding․ Tools like saws, drills, and sanders are necessary for precise cuts and smooth finishes․
Suggested Materials for Shoe Rack Construction
For a durable and stylish shoe rack, consider using plywood, MDF board, or reclaimed wood․ Doweling and wooden molding add structural support and aesthetic appeal․ Additional materials like ready-to-use shelving, fabric holders, and polywood can enhance functionality․ Metal or plastic hardware provides stability, while wood glue and screws ensure secure joints․ Sandpaper and paint or stain are essential for a polished finish․ These materials are readily available and budget-friendly, making them ideal for DIY projects․ Whether you prefer modern or traditional designs, these options offer versatility and durability, ensuring your shoe rack is both functional and visually appealing․
Essential Tools for the Project
To build a wooden shoe rack, you’ll need a saw for cutting wood, such as a coping saw or miter saw․ Sandpaper or a power sander ensures smooth surfaces․ A drill with drill bits is necessary for creating holes, while a hammer helps secure nails or screws․ Measuring tape and a pencil are vital for accurate cuts and markings․ Clamps will hold pieces in place during assembly․ Safety gear like gloves and goggles protects you while working․ A screwdriver or electric screwdriver is handy for fastening․ A carpenter’s square ensures precise angles․ Lastly, a workbench provides a stable workspace․ These tools are essential for a successful and efficient project․

Design Considerations

Design considerations involve measuring space, selecting styles that match room decor, ensuring durability, and planning for future customization needs to create functional and visually appealing storage solutions․
Choosing the Right Type of Wood
Selecting the appropriate wood for your shoe rack is crucial for durability and aesthetics․ Cedar, pine, and oak are popular choices due to their strength and natural beauty․ Cedar offers a pleasant aroma and is resistant to pests, making it ideal for storage․ Pine is lightweight and cost-effective, while oak provides a sturdy, timeless look․ Consider the moisture levels in your space, as certain woods perform better in humid environments․ Additionally, think about the weight capacity and desired finish․ For a modern look, engineered wood or plywood can be a practical and affordable option․ Always ensure the wood is dry and free of knots to avoid structural issues․ Proper selection ensures your shoe rack is both functional and visually appealing․
Determining the Size and Capacity
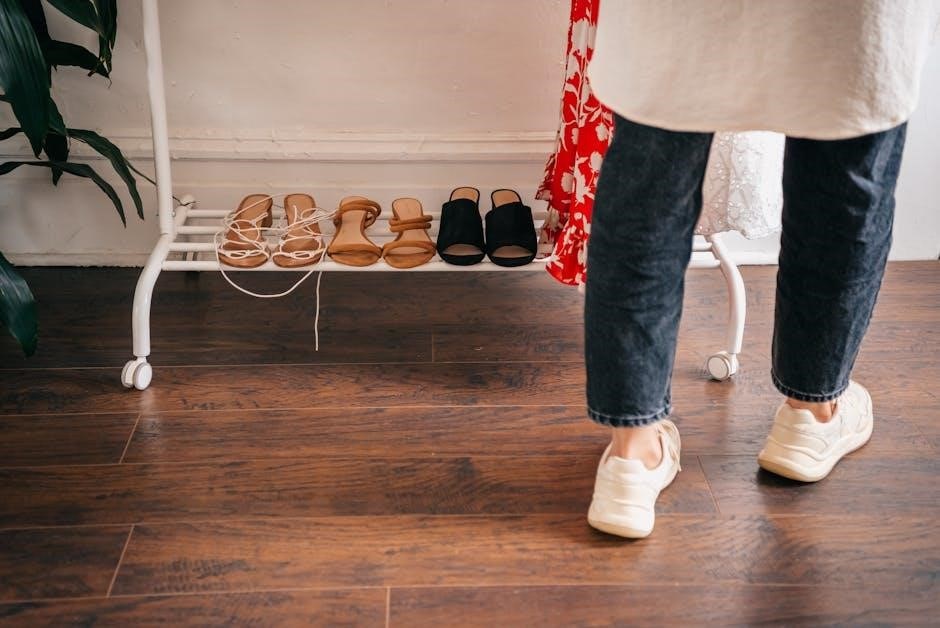
When designing a wooden shoe rack, measuring your space and determining the capacity are essential steps․ Start by assessing the available area where the rack will be placed, ensuring it fits seamlessly․ Consider the number of shoes you need to store, as this will influence the number of shelves or compartments․ A standard rack can hold 6-12 pairs, but adjust based on your needs․ Measure the average size of your shoes to ensure proper spacing․ Adjustable shelves or compartments can provide flexibility for different shoe sizes․ Additionally, consider the height to avoid overcrowding and ensure easy access․ Balancing practicality and aesthetics will result in a functional and visually appealing design․
Style Options: Modern vs․ Traditional
Choosing between modern and traditional styles for your wooden shoe rack depends on your home decor and personal preference․ Modern designs often feature sleek lines, minimal ornamentation, and a focus on functionality․ They may incorporate open layouts or horizontal arrangements for a contemporary look․ In contrast, traditional styles emphasize classic details like intricate carvings, raised panels, or Victorian-inspired accents․ These designs frequently use darker wood tones and vertical layouts to evoke a timeless elegance․ Both styles can be adapted to suit various spaces, allowing you to blend functionality with aesthetic appeal․ Whether you prefer a clean, minimalist aesthetic or a warm, classic vibe, there’s a style to match your vision․
Safety Tips and Precautions
Always wear safety glasses and gloves when cutting or drilling wood․ Ensure proper ventilation, avoid loose clothing, and keep long hair tied back․ Maintain a clean workspace to prevent accidents and ensure tools are stored safely after use․
Workshop Safety Guidelines
Ensure your workspace is well-ventilated and free from clutter․ Always use proper lighting to see your work clearly․ Wear appropriate safety gear, including safety glasses and gloves, to protect yourself from debris and splinters․ Keep loose clothing and long hair tied back to avoid entanglement with tools․ Maintain tools in good condition, ensuring they are sharp and functioning properly․ Never leave sharp objects unattended, and store them securely when not in use․ Keep a fire extinguisher nearby and avoid wearing jewelry that could pose a hazard․ Have a first aid kit readily available․ Always follow the manufacturer’s instructions for tools and materials․ Avoid distractions while working, and never operate power tools when fatigued․ Unplug tools when not in use, and ensure the workshop is organized to prevent tripping hazards․
Proper Tool Handling Techniques
Always hold tools with a firm, steady grip, and use the correct technique for each tool․ For power tools like drills or jigsaws, maintain control and keep loose clothing away from moving parts․ Use a push stick or similar aid when operating a jigsaw or circular saw to prevent accidents․ Keep hands away from blades or cutting surfaces, and never reach over a moving tool․ Store tools in a dry place and clean them regularly to ensure proper function․ For hand tools like chisels or hammers, strike confidently and avoid glancing blows․ Use clamps to secure workpieces firmly before cutting or drilling․ Always follow the manufacturer’s guidelines for tool usage and maintenance to ensure safety and efficiency․
Protecting Your Workpiece
Protecting your workpiece is crucial to ensure a professional finish and prevent damage․ Always use sanding blocks to maintain even pressure and avoid scratches․ Clamp the wood firmly to prevent movement during cutting or drilling․ Cover your workpiece with protective coverings like wax paper or cardboard when using chemicals or stains․ Regularly clean the surface to remove dust and debris, which can interfere with finishes․ Store the workpiece in a dry, stable environment to prevent warping․ Use protective pads or mats when handling the wood to avoid dents or marks․ Proper care ensures your shoe rack remains durable and visually appealing for years․ Regular maintenance will also extend its lifespan and keep it looking new․
Step-by-Step Instructions
Follow this easy-to-follow guide to build your wooden shoe rack․ Detailed instructions ensure a smooth process from preparation to final assembly, making it achievable for all skill levels․
Preparing the Materials and Tools
Begin by gathering all materials and tools as outlined in your wooden shoe rack plans․ Measure and cut the wood according to the specified dimensions for accuracy․ Sand all cut pieces to ensure smooth surfaces․ Organize your tools, such as drills, saws, and screwdrivers, within easy reach․ Double-check that all hardware, like screws and brackets, is ready for assembly․ Set up a clean, stable workspace to avoid clutter and potential accidents․ Refer to your plan for any pre-drilling or notching requirements․ Finally, wear safety gear, including gloves and goggles, to protect yourself during the process․ Proper preparation ensures a seamless and efficient assembly process․
Assembling the Shoe Rack Frame
Start by assembling the shoe rack frame using the pre-cut wood pieces․ Attach the sides and back panel first, ensuring alignment with clamps․ Drill pilot holes to avoid splitting the wood, then secure the pieces with screws․ Next, attach the base to the frame for stability․ Use a carpenter’s square to ensure all corners are square․ If your design includes vertical supports, install them between the sides for added strength․ Tighten all screws firmly but avoid overtightening, which could strip the wood․ Double-check the frame’s stability before proceeding to add shelves or compartments․ A sturdy frame is essential for the shoe rack’s durability and functionality․ Proceed methodically to maintain precision and balance․
Adding Shelves and Storage Compartments
Once the frame is assembled, begin adding shelves and storage compartments․ Measure and cut the shelf boards to the specified dimensions, ensuring they fit snugly within the frame․ Use a carpenter’s square to align the shelves evenly․ Attach the shelves using screws, starting from the bottom for stability․ If your design includes multiple compartments, divide the space by attaching vertical dividers between the shelves․ Secure these dividers with wood glue and clamps before screwing them into place․ For added functionality, consider adding small compartments or drawers for accessories like shoelaces or polish․ Sand all edges after assembly and apply a finish before installing the final components․ This step completes the structural aspect of your shoe rack, readying it for use․
Finishing and Sanding the Wood
Finishing and sanding are crucial steps to ensure your shoe rack looks polished and professional․ Begin by sanding all wooden surfaces with medium-grit sandpaper, progressing to finer grits for a smooth finish․ Remove dust with a tack cloth or vacuum․ Apply your chosen finish, such as stain, paint, or varnish, following the manufacturer’s instructions․ Allow the finish to dry completely before applying a second coat․ For added protection, consider a clear polyurethane topcoat․ Once dry, lightly sand the surface to remove any imperfections․ Finally, wipe away dust and apply a final coat․ Proper finishing enhances durability and aesthetics, ensuring your shoe rack remains functional and visually appealing for years to come․
Final Assembly and Installation
After sanding and finishing, it’s time to assemble the shoe rack․ Begin by attaching the shelves to the frame using screws or nails, ensuring alignment and stability․ Double-check all measurements and tighten any loose joints; Once assembled, place the rack in the desired location, ensuring it is level․ For added stability, secure the rack to the wall using wall anchors or brackets to prevent tipping․ Allow the finish to cure fully before loading shoes․ Test the rack’s capacity by placing a few pairs of shoes to ensure it holds weight evenly․ Proper installation ensures safety and functionality, making your shoe rack a practical and stylish addition to your space․

Customization and Personalization
Customize your shoe rack by painting or staining the wood, adding decorative trim, or incorporating functional elements like adjustable shelves or drawers to match your personal style․
Personalizing Your Shoe Rack Design
Personalizing your shoe rack design allows you to tailor the project to your unique needs and preferences․ Consider painting or staining the wood to match your home decor or adding decorative hardware for a polished look․ You can also incorporate custom carvings, engravings, or other artistic elements to give your shoe rack a personal touch․ Additionally, you can adjust the design to include features like adjustable shelves, sliding drawers, or compartments for accessories․ This ensures your shoe rack is both functional and reflective of your personal style, whether you prefer a modern, minimalist aesthetic or a traditional, rustic charm․ Personalization makes your project truly one-of-a-kind․
Adding Decorative Elements
Elevate your shoe rack’s appearance by incorporating decorative elements that enhance its visual appeal․ Consider adding intricate wood carvings, molding, or ornate trim to create a traditional or rustic vibe․ Metal accents, such as brass knobs or decorative hinges, can add a touch of elegance․ For a modern look, incorporate geometric patterns or minimalist designs․ You can also paint or stain the wood in contrasting colors to create a striking effect․ Additionally, carved patterns or shapes can be added to the shelves or frame for a personalized touch․ These decorative elements not only enhance the shoe rack’s aesthetic but also make it a unique piece that complements your home decor․
Adapting Plans for Different Spaces
Adapting wooden shoe rack plans to fit various spaces ensures functionality and aesthetics․ Measure the available area to adjust dimensions, ensuring the rack fits seamlessly․ For small spaces, consider vertical designs or compact layouts․ In larger areas, expand the rack’s width or add extra shelves․ Customize the style to match the room’s decor, whether modern, rustic, or minimalist․ Use the plans as a base and modify the design to suit specific needs, such as adding wheels for mobility or incorporating doors for hidden storage․ By tailoring the design to the space, you create a practical and visually appealing shoe storage solution that enhances any room’s functionality and style․
Troubleshooting Common Issues
Address alignment and stability issues by checking measurements and securing parts properly․ Sand rough edges and reassemble if necessary to ensure a sturdy and even structure․
Addressing Alignment Problems
Alignment issues can arise during assembly, causing uneven shelves or a lopsided frame․ To fix this, double-check all measurements and ensure components are squared․ Use clamps to hold pieces in place while securing them, and verify the base is level before attaching shelves․ If shelves are uneven, adjust the supports or add shims for balance․ Warped wood can also lead to misalignment; replace warped pieces if necessary․ Sand edges to smooth transitions and reassemble carefully․ Proper alignment ensures stability and functionality, so take time to verify each step before moving forward․ Addressing these issues early prevents larger problems down the line․
Fixing Stability Issues
Stability issues in a wooden shoe rack can occur due to an uneven base or weak joints․ To fix this, ensure the base is level and securely attached to the frame․ Add supports, such as crossbars or diagonal brackets, to reinforce the structure․ Check all connections and tighten loose screws or bolts․ If the rack is top-heavy, consider widening the base or adding weight to the bottom for better balance․ Sand uneven legs to ensure even contact with the floor․ Test the rack by placing weight on it gradually to identify and address any remaining instability․ A stable shoe rack ensures safety and prevents tipping, making it durable for long-term use․
Preventing Warping and Damage
To prevent warping and damage in your wooden shoe rack, ensure proper drying of the wood before construction․ Use a dehumidifier or allow the wood to acclimate to the workspace․ Apply a wood finish, such as varnish or polyurethane, to protect against moisture․ Avoid exposing the rack to direct sunlight or extreme humidity․ Store shoes neatly to prevent overcrowding, which can cause structural stress․ Regularly inspect the rack for signs of wear and address them promptly․ Use felt pads on the bottom to protect the floor and prevent scratching․ By maintaining the wood and ensuring proper care, you can extend the lifespan of your shoe rack and keep it looking its best․
Building a wooden shoe rack offers numerous benefits, including cost-effectiveness, customization, and improved organization․ It maximizes space, protects shoes from dust, and enhances home aesthetics․ DIY projects also foster creativity and provide a sense of accomplishment․ By using sustainable materials, you contribute to eco-friendliness․ The ability to tailor designs to fit specific needs ensures functionality and personal style․ Additionally, handmade racks often outlast store-bought options, offering long-term durability․ This project is ideal for beginners, teaching valuable woodworking skills․ Overall, a wooden shoe rack is a practical and rewarding investment for any homeowner seeking to organize their space efficiently and beautifully․
Encouragement to Start Your Project
Starting your wooden shoe rack project is an exciting step toward creating a functional and stylish addition to your home․ With clear plans and basic tools, you can transform raw materials into a beautiful, personalized storage solution․ Don’t wait—begin by gathering materials and tools, and take it one step at a time․ The process is rewarding, allowing you to develop new skills and enjoy the satisfaction of handmade craftsmanship․ Whether you’re a novice or experienced, this project is achievable and fun․ Once complete, you’ll appreciate the convenience and charm of your custom shoe rack․ Dive in and enjoy the journey of bringing your vision to life!


Leave a Reply
You must be logged in to post a comment.